UltFone macOS Repair est un outil professionnel qui peut résoudre plus de 200 problèmes macOS, tels que l'écran noir, la batterie qui ne se charge pas, le fonctionnement lent, etc. De plus, l'outil peut également aider macOS à rétrograder ou à mettre à niveau.
Suivez ce guide pour savoir comment réparer le système macOS, rétrograder macOS et mettre à niveau macOS.
Partie 1 : Réparer le système macOS
Réparation standard : Résoudre les problèmes de macOS sans perte de données
Étape 1 : Téléchargez et installez UltFone iOS System Repair sur un Mac normal
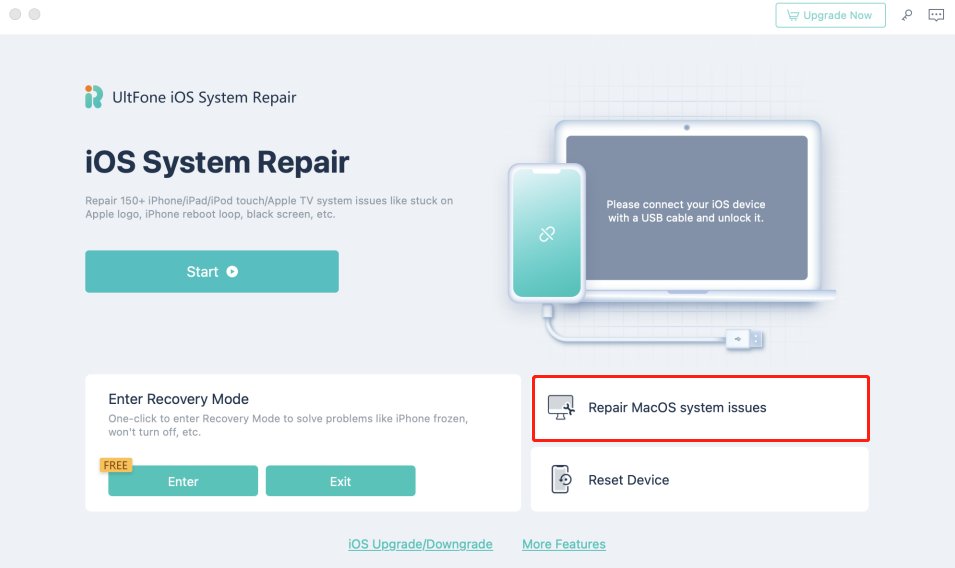
Exécutez UltFone iOS System Repair sur votre ordinateur Mac normal et connectez-le à l'ordinateur qui doit être réparé. Une fois l'appareil reconnu, cliquez sur le bouton "Réparer système macOS" pour utiliser l'outil de récupération du système macOS.
- Remarque :
- Pour réparer le système macOS avec succès, il est fortement recommandé de connecter les deux appareils macOS à l'aide du câble USB Lightning d'origine Apple.
Étape 2 : Cliquez sur "Réparation standard" pour continuer
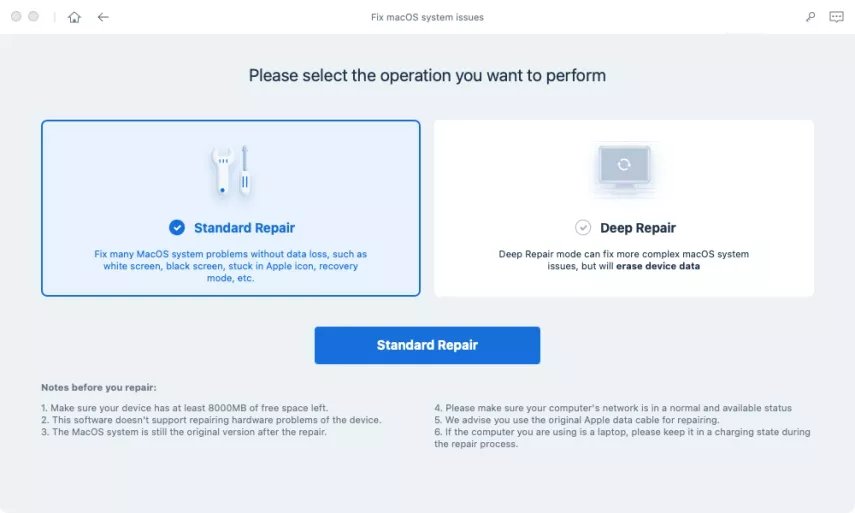
Dans l'interface ci-dessous, sélectionnez "Réparation standard" et lisez la note ci-dessous pour éviter de réparer l'échec du processus. Si vous êtes prêt, cliquez sur "Réparation standard".
Étape 3 : Entrez en mode DFU
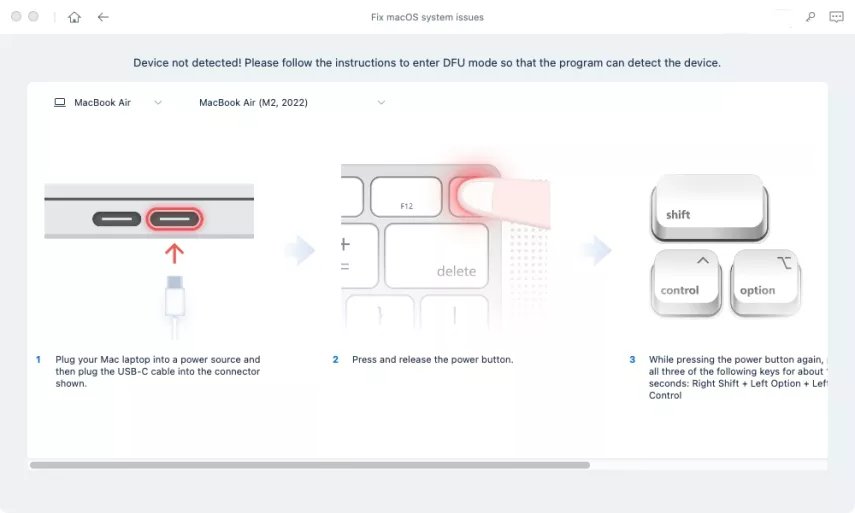
Sélectionnez le modèle de l'ordinateur mac que vous devez réparer et suivez les instructions à l'écran.
- Remarque :
- Si votre appareil ne peut pas être détecté, assurez-vous que le modèle que vous avez sélectionné correspond au modèle de votre appareil et suivez les instructions pour mettre votre ordinateur en mode DFU.
Étape 4 : Téléchargez le package du micrologiciel
Si vous êtes prêt, cliquez sur "Télécharger" pour télécharger le dernier package de micrologiciel. Cela prendra un certain temps en raison du progiciel d'environ 12 Go.
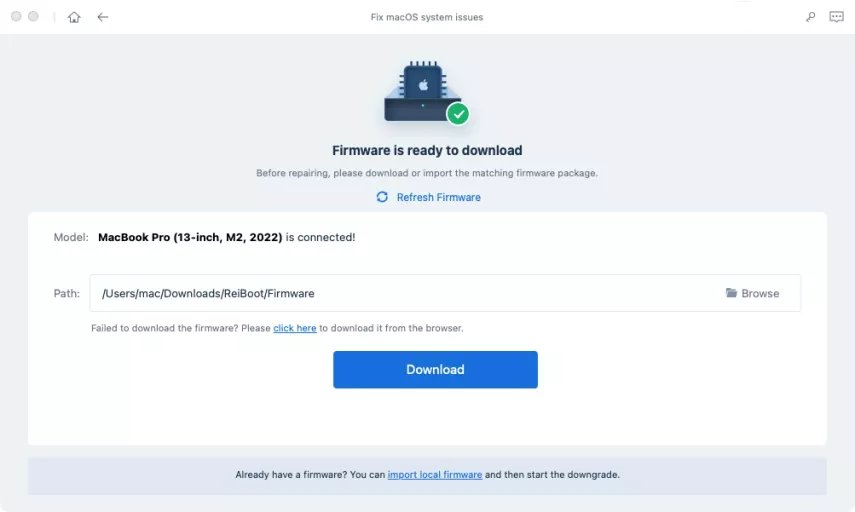
Si vous n'avez pas réussi à télécharger le progiciel, vous pouvez le télécharger via le navigateur en cliquant sur « cliquez ici ».
Si vous avez déjà téléchargé le progiciel sur l'ordinateur, cliquez simplement sur "importer un fichier local" pour importer le micrologiciel manuellement.
Étape 5 : Démarrez la réparation standard
Une fois le progiciel téléchargé sur votre ordinateur, vous pouvez cliquer sur "Réparer" pour démarrer la récupération du système.
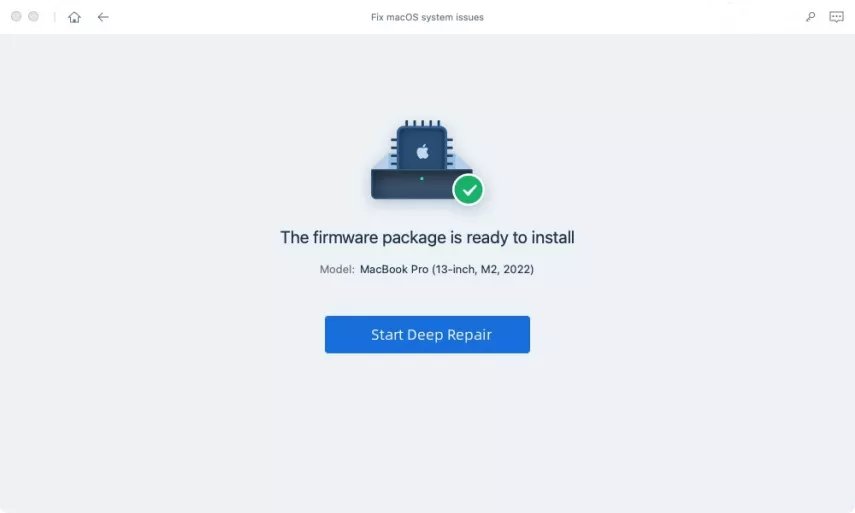
L'ensemble du processus de réparation prendra quelques minutes, veuillez patienter.
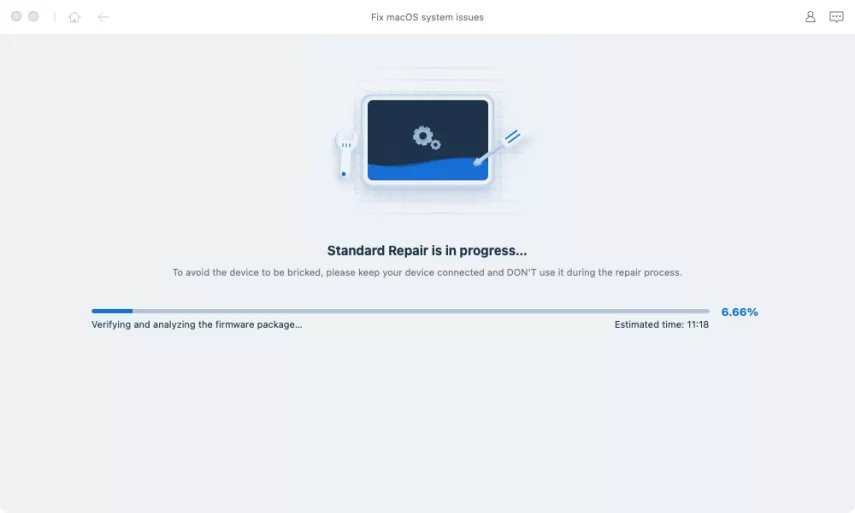
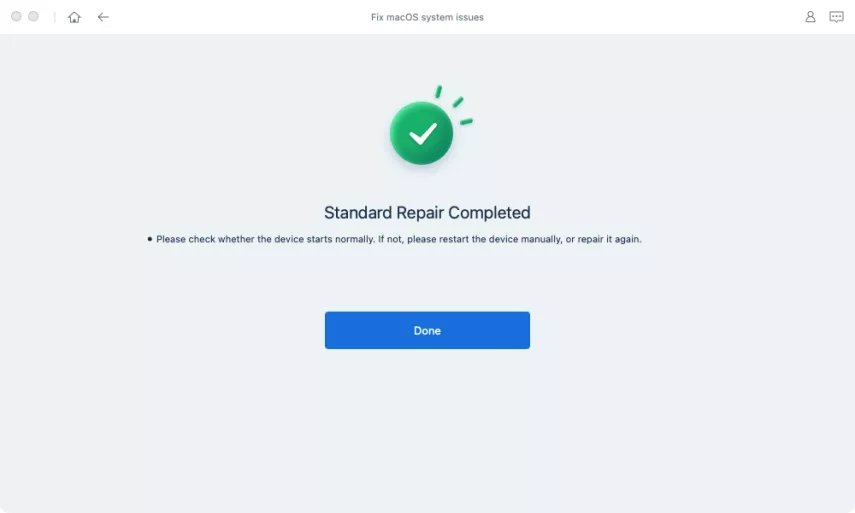
Une fois la réparation effectuée, votre appareil macOS redémarrera automatiquement et toutes vos données ne seront pas effacées.
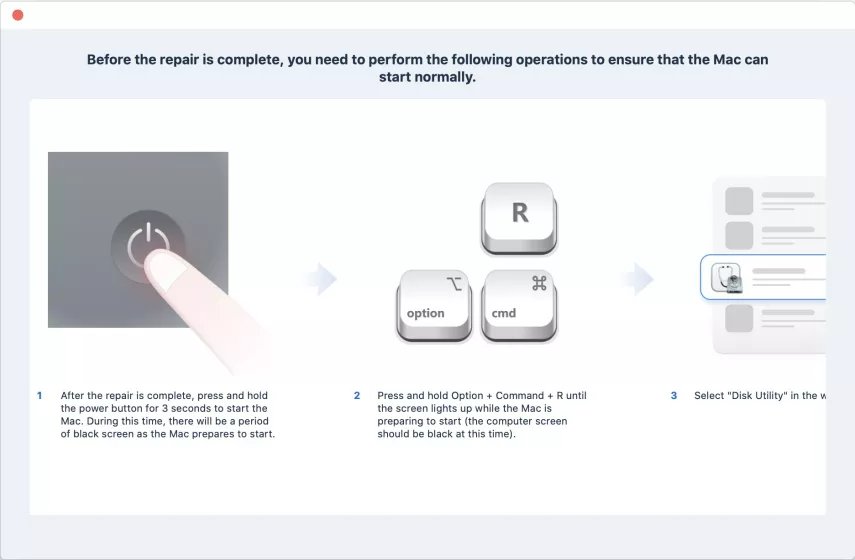
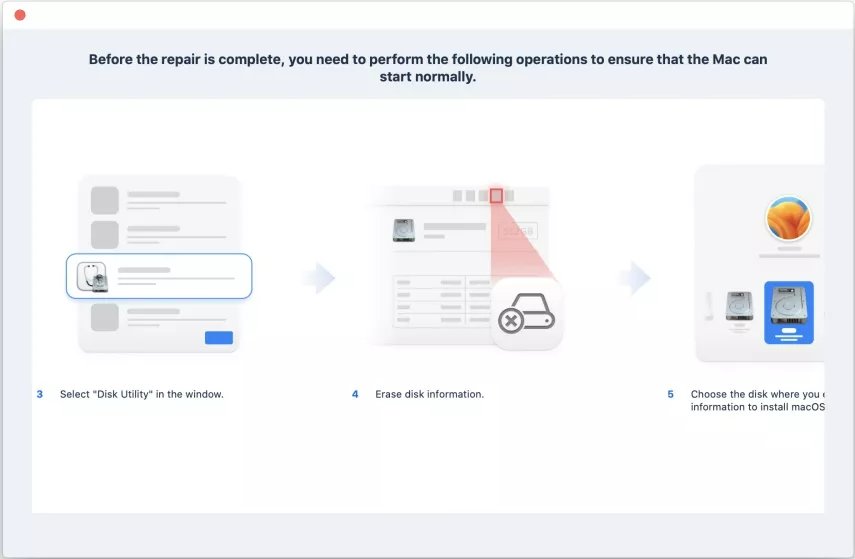
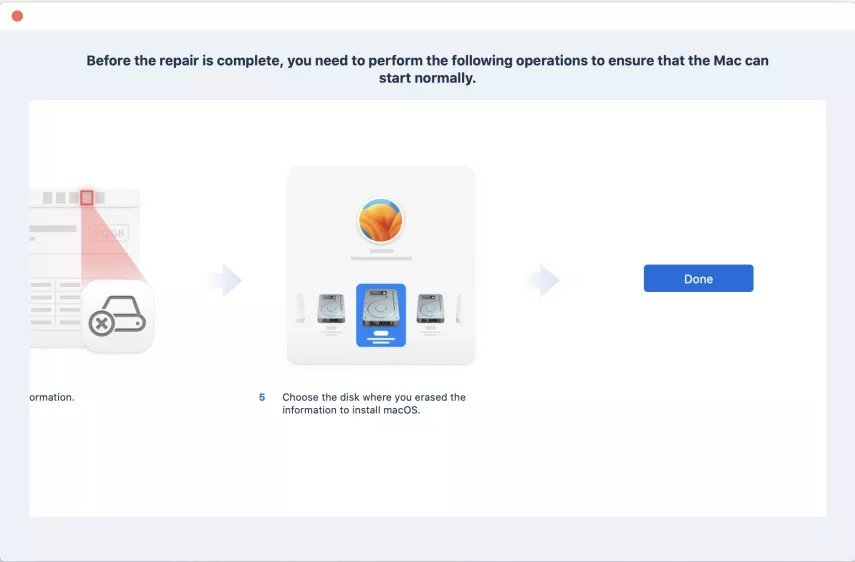
- Si vos modèles de Mac sont équipés de l'Apple T2, avant de procéder à la réparation, vous devez suivre les instructions ci-dessous étape par étape :
- Après avoir terminé toutes les étapes, veuillez cliquer sur le bouton "Terminé" et votre Mac avec Apple T2 sera réparé avec succès sans perte de données.
Remarque :
Réparation avancée : résoudre les problèmes du système macOS avec un taux de réussite plus élevé
Réparation avancée peut résoudre des problèmes système macOS plus graves avec un taux de réussite plus élevé, mais cela entraînera une perte de données. Ainsi, lorsque la réparation standard échoue, vous pouvez essayer la réparation en profondeur.
Étape 1 : Téléchargez et installez UltFone iOS System Repair
Download and run UltFone iOS System Repair, connect your two Mac devices via a USB cable.
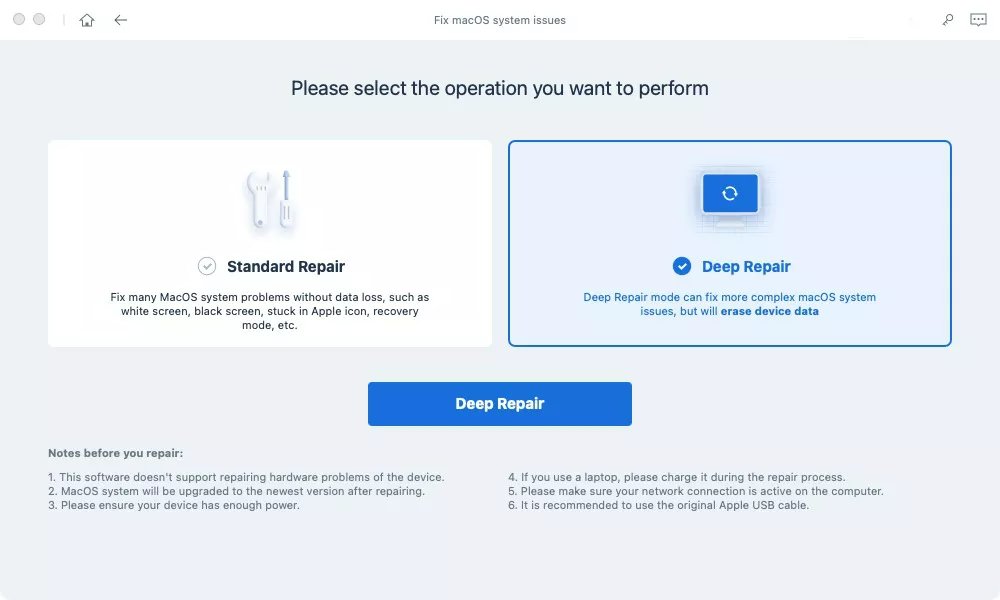
Step 2: Click "Deep Repair"
In the following interface, select "Deep Repair" and read the note below carefully. If there"s no problem, please click "Deep Repair".
Step 3: Enter into DFU Mode
Select the model of the mac computer you need to be repaired and follow the instructions on the screen.

- Note:
- If your device can"t be detected, please make sure that the model you have selected corresponds to your device model, and follow the instructions to put your computer into DFU mode.
Step 4: Download Firmware Package
Now, you can start downloading firmware package by pressing "Download" button and it will take a few minutes.

Step 5: Start Deep Repair
Now, the firmware package has been downloaded, click "Start Deep Repair" to start repairing.

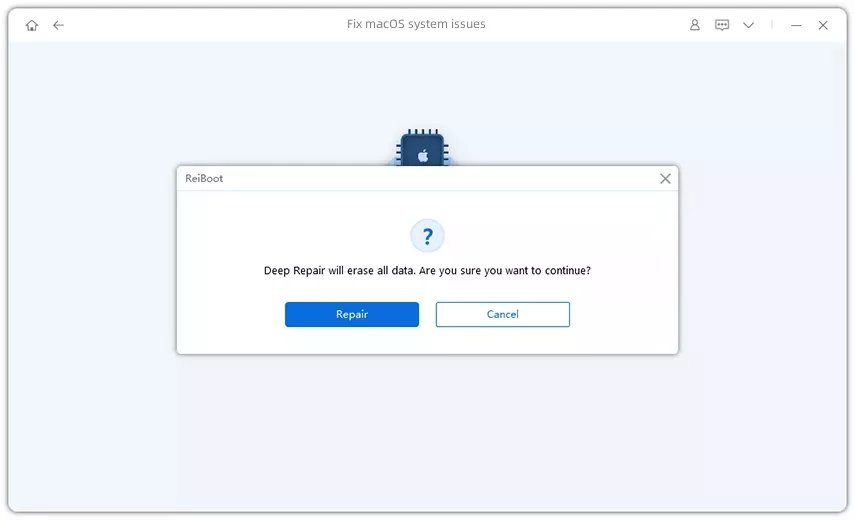
Deep Repair will cause all data and settings loss. If the device can operate, you can back up data first and then try again. If not, just click "Repair" to proceed.
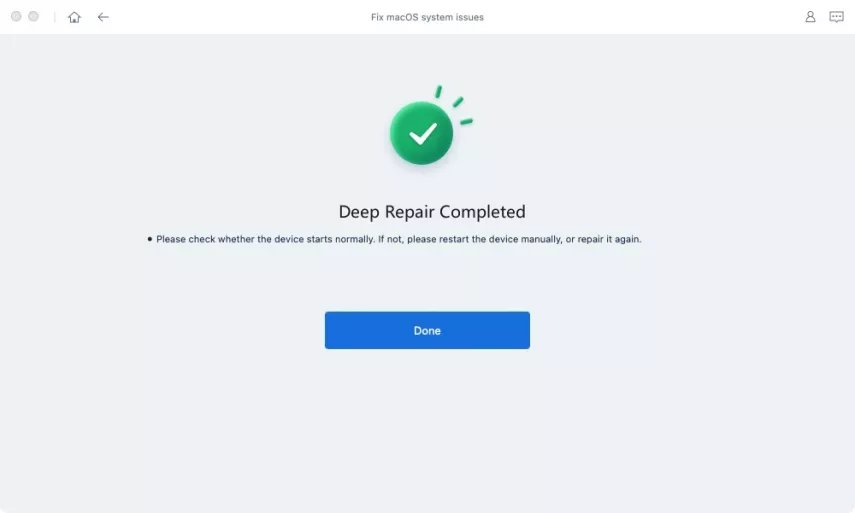
After a while, your device will be repaired successfully, just to check if your device goes back to normal.
- Note:
- If your Mac models is with the Apple T2, before repairing done, you should follow the instructions below steb by step:
- After you finished all the steps, please click the Done button and your Mac with Apple T2 will be repaired successfully.


Part 2: Downgrade macOS
If you want to revert your Mac to a previous version due to compatibility issues, UltFone iOS System Repair is the best bet for you. It provides a hassle-free solution that saves time and effort. With just a few clicks, you can downgrade your macOS version, and UltFone iOS System Repair will handle the rest.
This guide mainly introduce how to downgrade your Mac devices. You need to download and install the UltFone iOS System Repair on your computer first, then follow the steps below.
Step 1. Connect Both Mac Devices
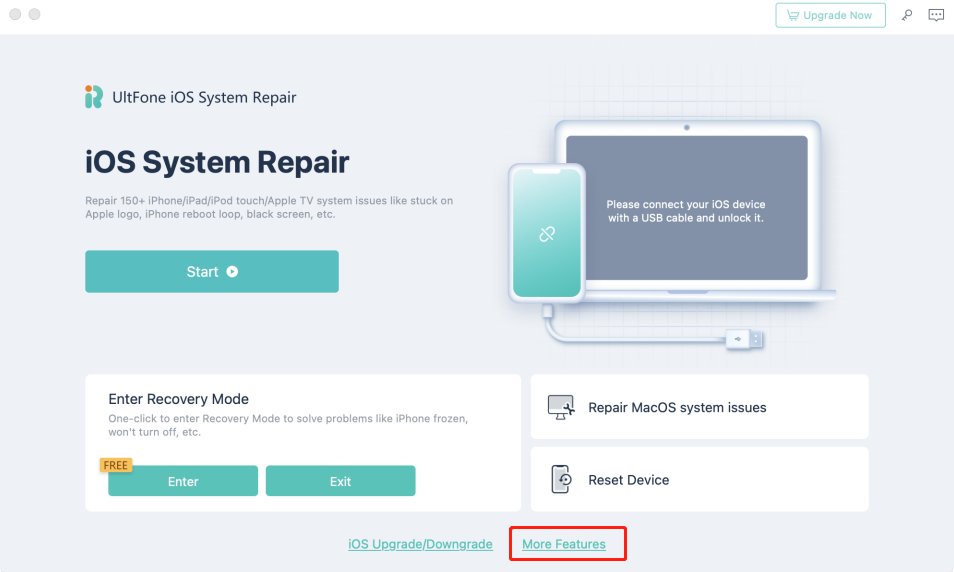
Run UltFone iOS System Repair on your computer and connect both Mac devices. Once the devices are connected, click “More Features” at the bottom left of the panel.
Step 2. Choose Downgrading System Option
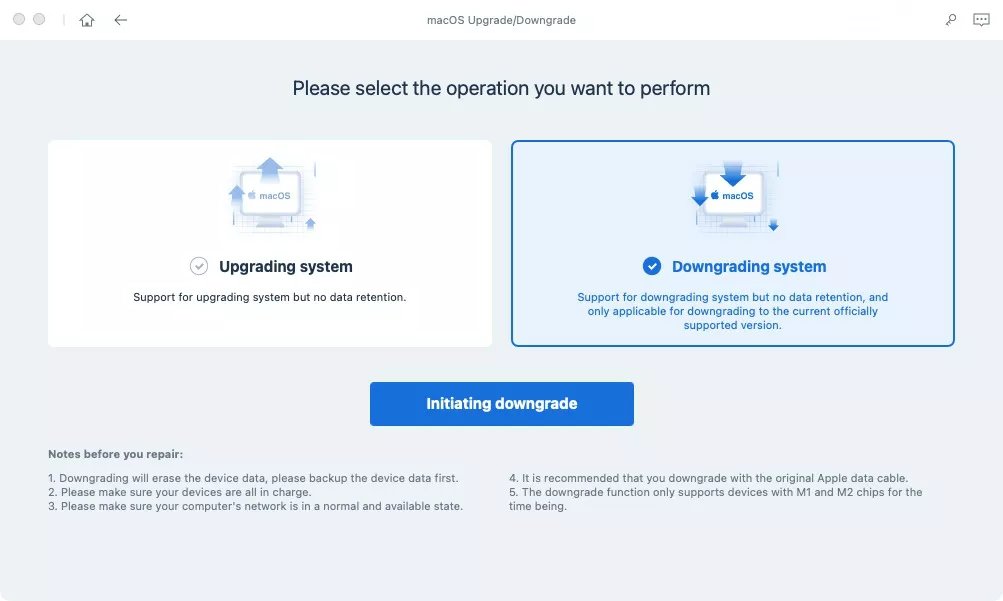
No matter beta version or final version, you should choose Downgrading System mode. Then, click the button below.
Step 3. Enter into DFU Mode
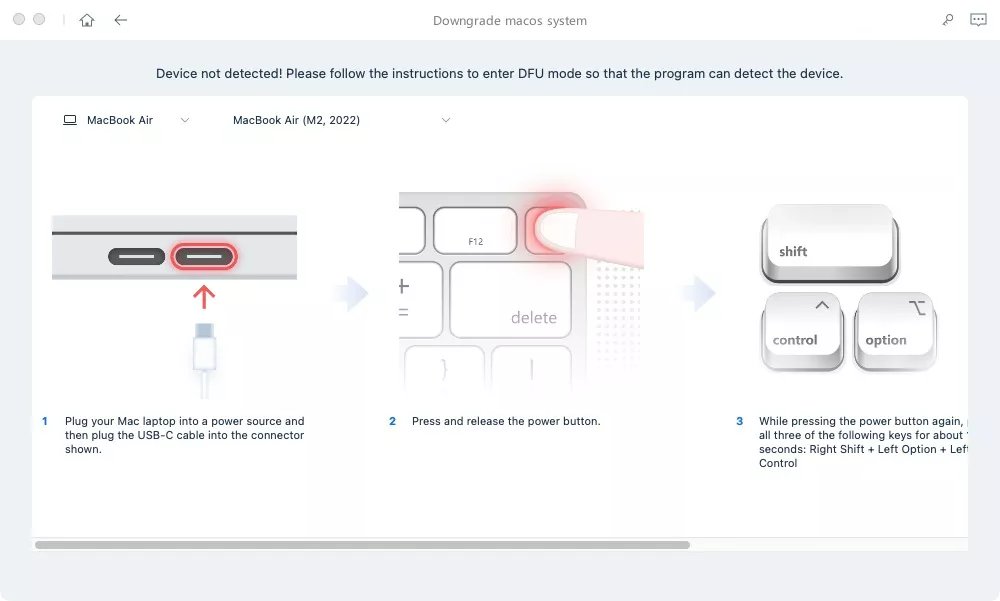
Follow the instructions below to put your mac into DFU mode. The methods are different from models, please make sure you choose the right model.
Step 4. Download Firmware Package
UltFone iOS System Repair will detect your macOS version automatically and display the downgradable macOS firmware. Click “Download” to get the package.
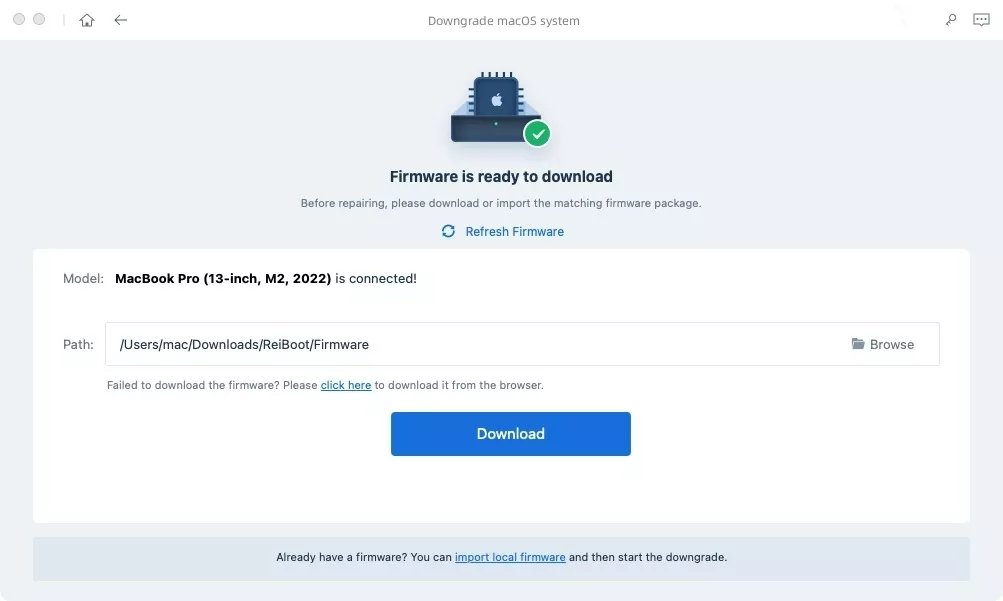
· If you failed to download the firmware, just hit the ‘click here’ to download it through browser.
· If you've already have a firmware on computer, just click import local file to import the firmware manually.
It may take a few minutes to download the firmware.
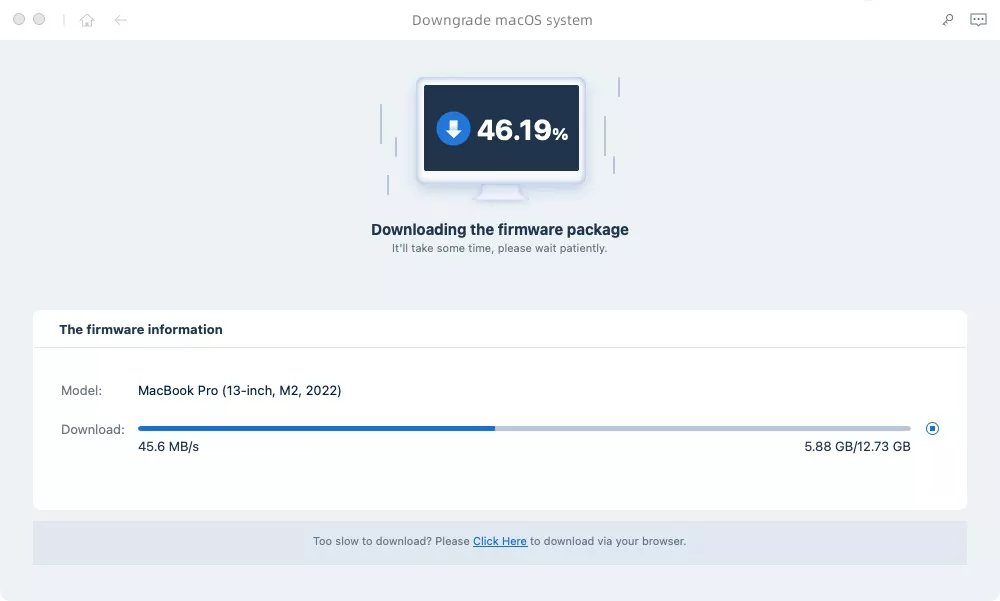
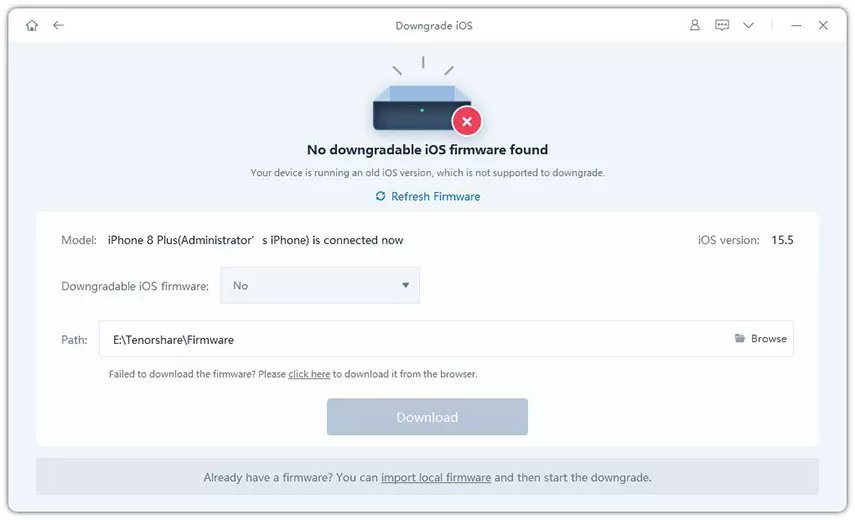
- Note:
- Unsigned IPSWs cannot currently be restored via UltFone iOS System Repair. If the macOS version is not supported to downgrade, the program will prompt that no downgradable macOS firmware found.
Step 5. Initiating Downgrade
Once the firmware package is downloaded on your computer, you can click 'Initiating Downgrade' to downgrade macOS.
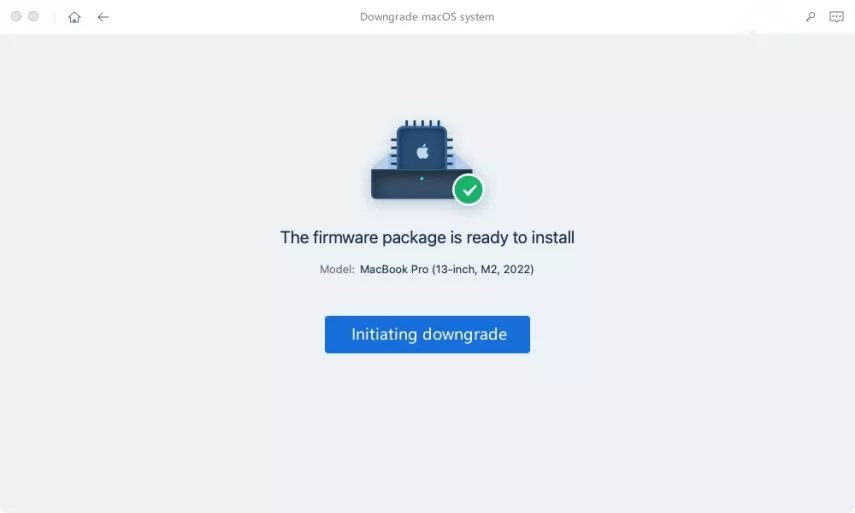
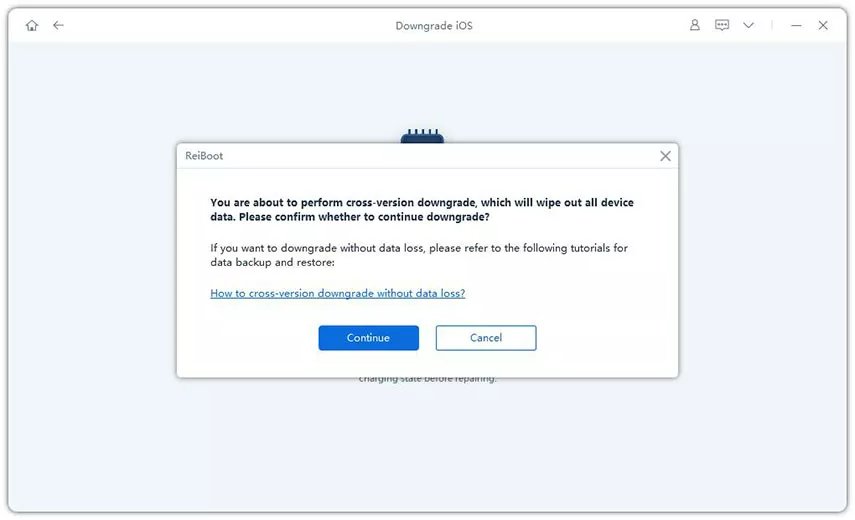
Initiating Downgrade will cause all data and settings loss, please make sure that you have made a backup before. If confirmed, then click “Continue” button.
Step 6. Downgrading
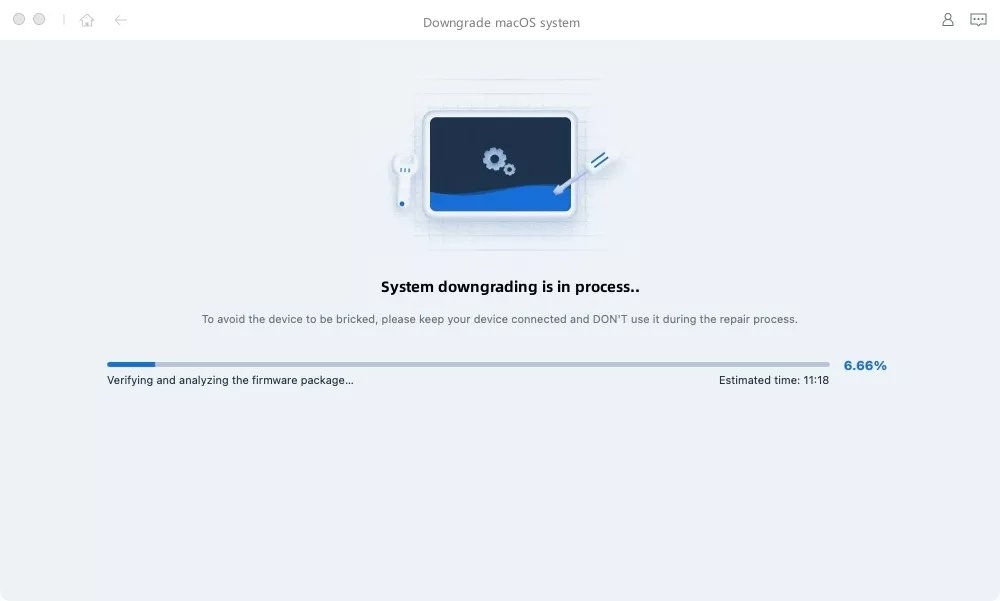
The program starts to downgrade macOS, please do not disconnect your device during the downgrade process.
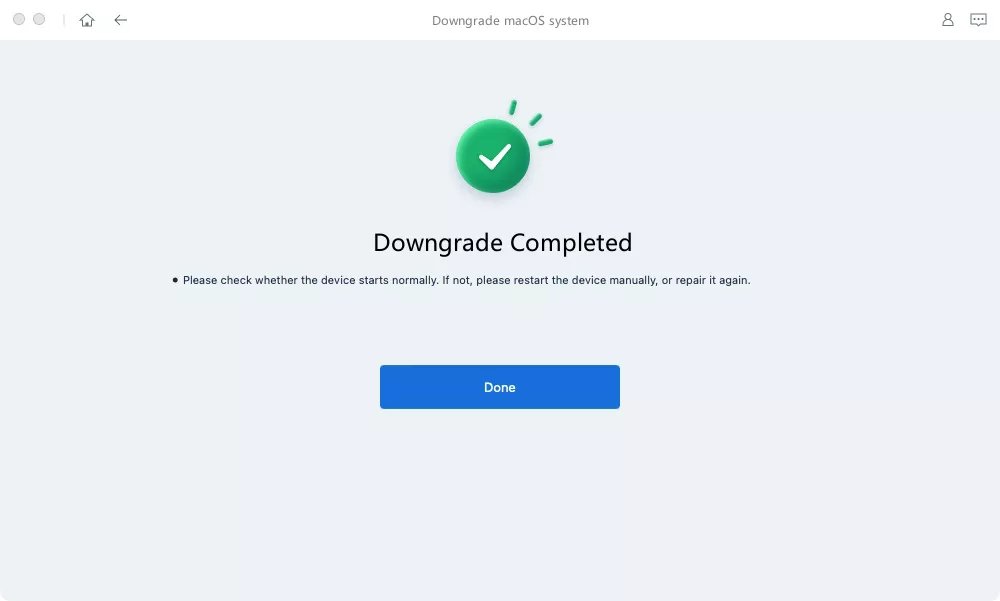
When the downgrade is completed, you will see the completed page and your mac devices will go back to the previous version.
Part 3: Upgrade macOS
Whether you want to update to the latest macOS version or revert to a previous version due to compatibility issues, UltFone iOS System Repair provides a hassle-free solution that saves time and effort. With just a few clicks, you can upgrade your macOS version, and UltFone iOS System Repair will handle the rest.
This guide mainly introduce how to update your Mac devices. You need to download and install the UltFone iOS System Repair on your computer first, then follow the steps below.
With UltFone iOS System Repair, you can be sure that your Mac will be updated to the latest version with ease and without any risk of data loss or damage to your system. Here is how to update your macOS Update macOS without a hitch.
Step 1. Connect Both Mac Devices
Run UltFone iOS System Repair on your computer and connect both mac devices. Once the devices are connected, click “More Features” at the bottom left of the panel.

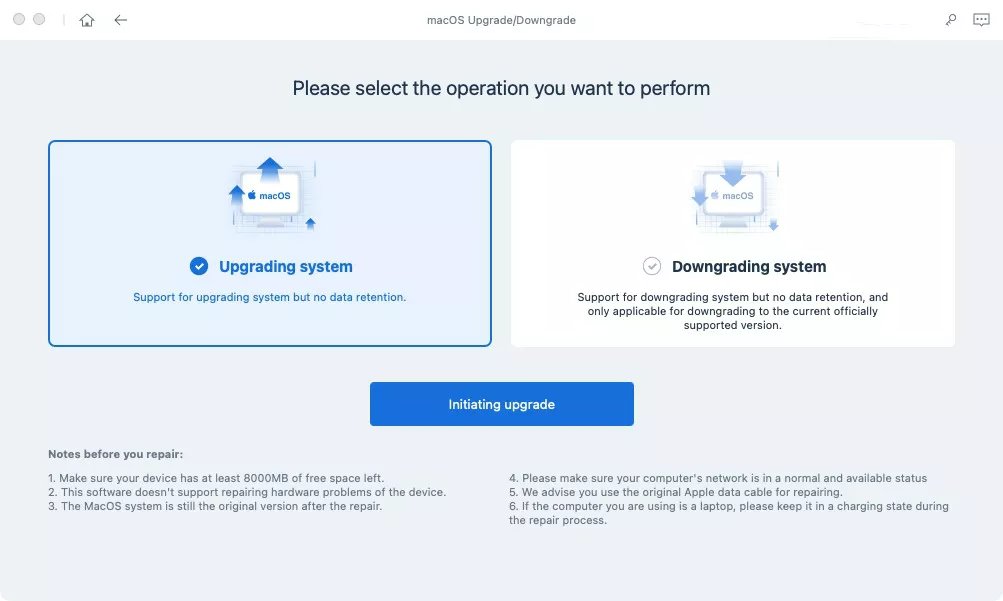
Step 2. Choose Upgrading System Option
No matter beta version or final version, you should choose "Upgrading System" mode. Then, click the button below.
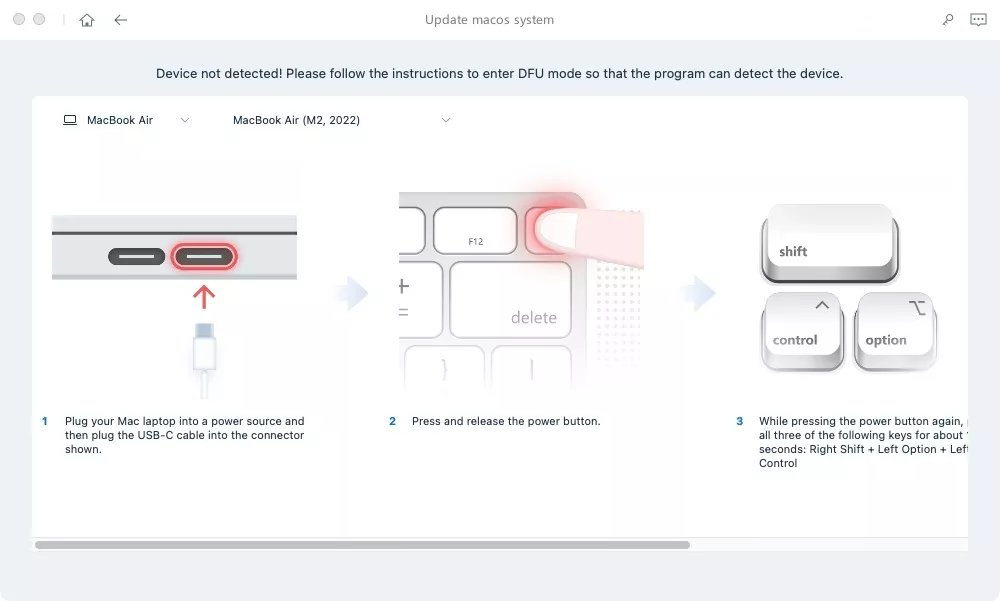
Step 3. Enter into DFU Mode
Follow the instructions below to put your mac into DFU mode. The methods are different from models, please make sure you choose the right model.
Step 4. Download Firmware Package
UltFone iOS System Repair will detect your macOS version automatically and display the upgradable macOS firmware. Click “Download” to get the package.
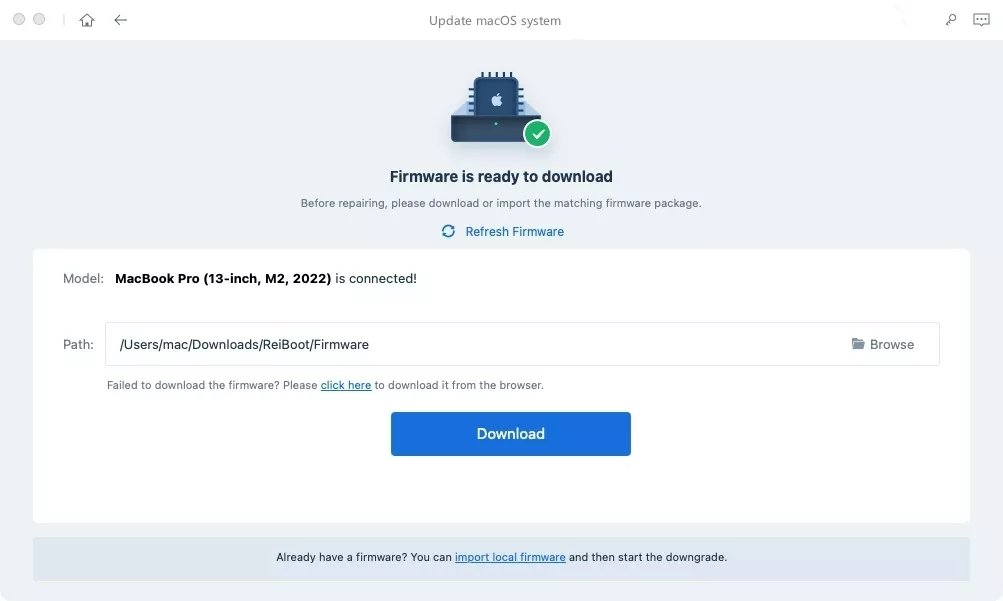
· If you failed to download the firmware, just hit the ‘click here’ to download it through browser.
· If you've already have a firmware on computer, just click "import local file" to import the firmware manually.
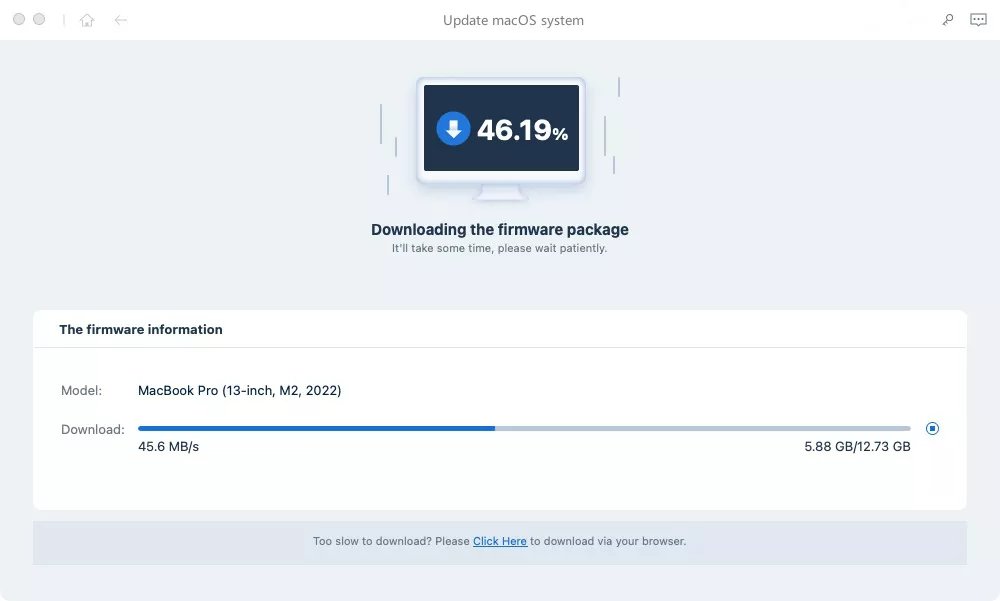
It may take a few minutes to download the firmware.
- Note:
- Unsigned IPSWs cannot currently be restored via UltFone iOS System Repair. If the macOS version is not supported to upgrade, the program will prompt that no upgradable macOS firmware found.

Step 5. Initiating Upgrade
Once the firmware package is downloaded on your computer, you can click 'Initiating Upgrade' to update macOS.
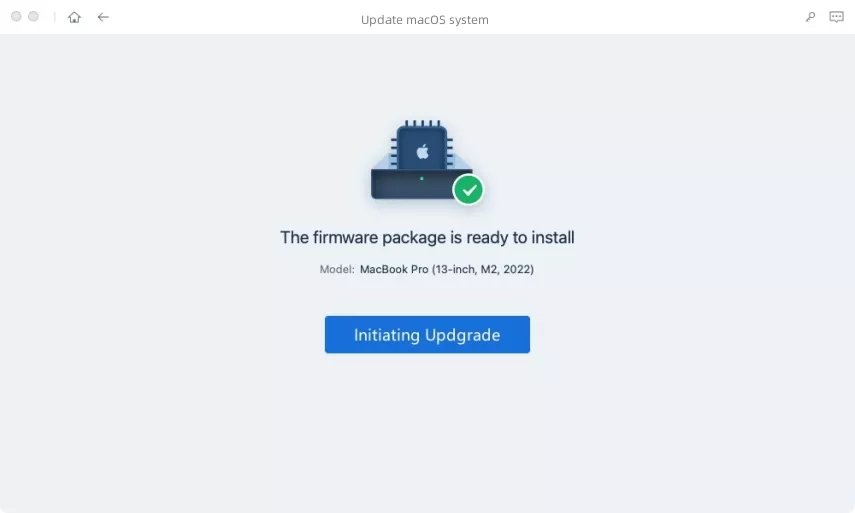
Initiating Upgrade will not clear your data. If confirmed, then click “Continue” button.

Step 6. Upgrading
The program starts to update macOS, please do not disconnect your device during the upgrade process.
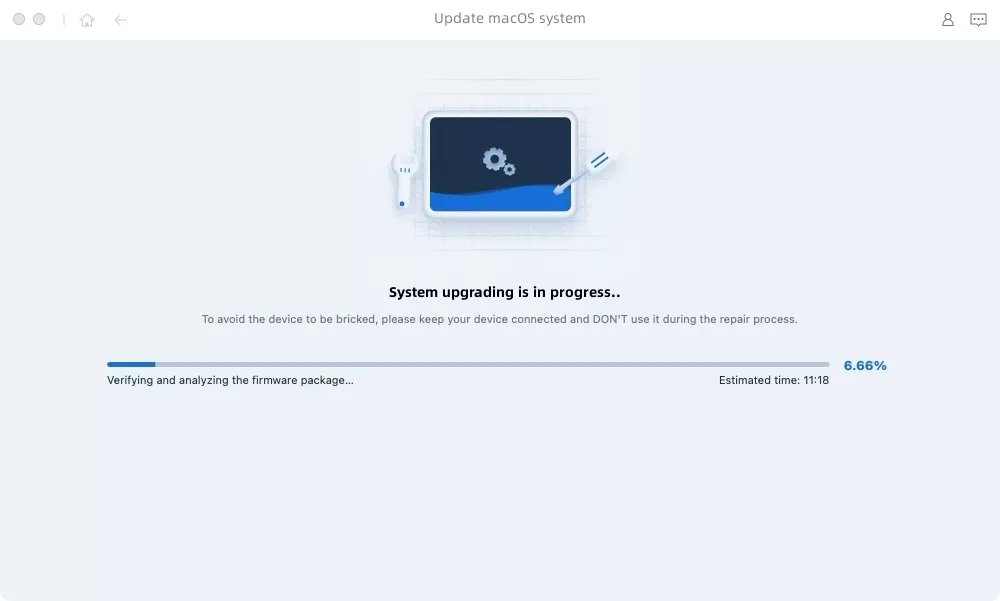
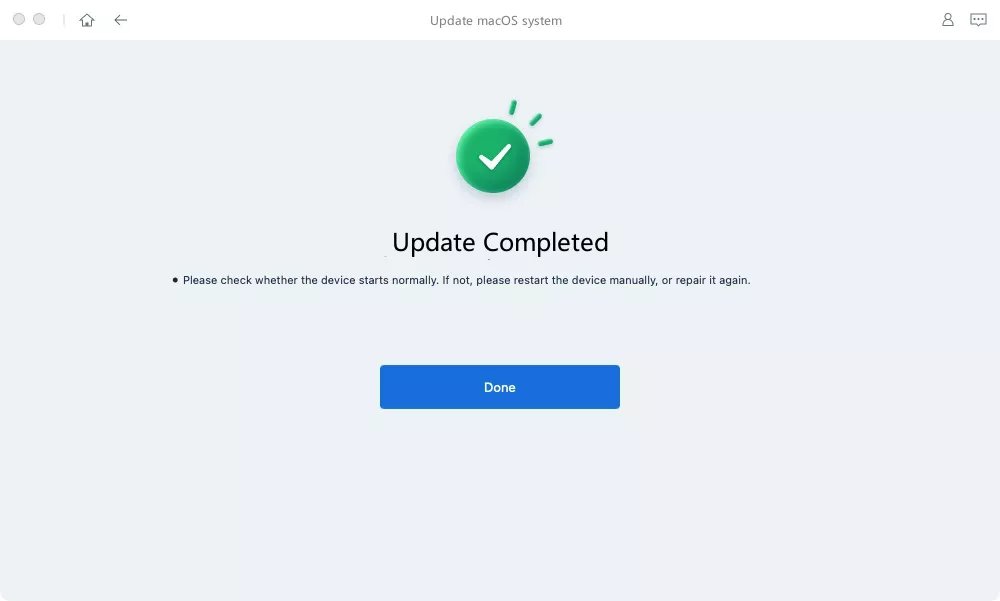
When the upgrade is completed, you will see the completed page and your Mac devices will be the newest version.
- Note:
- If your Mac models is with the Apple T2, before repairing done, you should follow the instructions below steb by step:
- After you finished all the steps, please click the "Done" button and your Mac with Apple T2 will be upgraded successfully.


